- Astronomy bits and pieces
- Fun with Tramp in Emacs
- GrapheneOS review
- Bookmarking – nextcloud vs wordpress vs 3rd party service vs browser sync
- 5 min recipes?
- Going to a (insert subject matter) “meetup”
- Fun drinks
- Exploring the IndieWeb again
Tag: writing
Publicizing effectively with Jetpack for WordPress
If you are a blogger, and you use WordPress, you will undoubtedly heard of Jetpack. Jetpack for WordPress provides a ton of enhancements to any WordPress install. Among the goodies is something for the socialite in all of us: the ability to automatically “broadcast” our blog posts to social networks, including Facebook, Twitter, LinkedIn and Google+, via the Publicize feature.
All this free stuff of course comes with a “price” – having a user account on WordPress.com itself. But, if you are a blogger – or at the very least you read other people’s blogs and contribute comments – this is not exactly a hardship.
Set-up and Testing
Setting up Jetpack is as easy as installing a WordPress plug-in. If you are familiar with the process, you will probably have already seen Jetpack in the Add Plugin page.
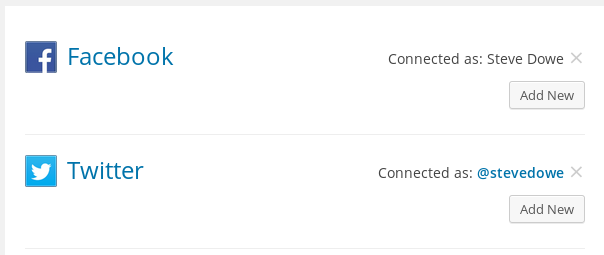
The Publicize feature is equally easy to set up: you simply click on the button corresponding to the social network you wish to link with, a page/pop-up opens to allow you to authenticate with that social network, and then you return to the Publicize page with a “Connected as…” confirmatory message.
The next step is to write a post and then publish it. Simple, huh? Well, not quite.
Content Formatting
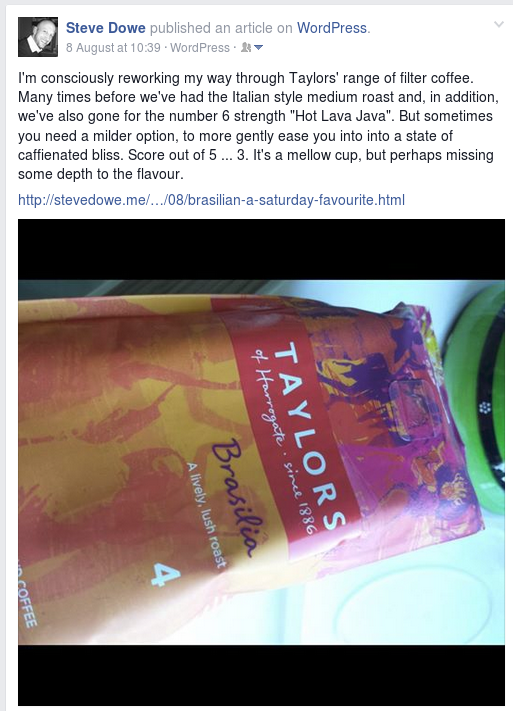
Due to the different ways social networks publish posts, your “write once, publish many” WordPress post may need a little tweaking before it looks as good as possible.
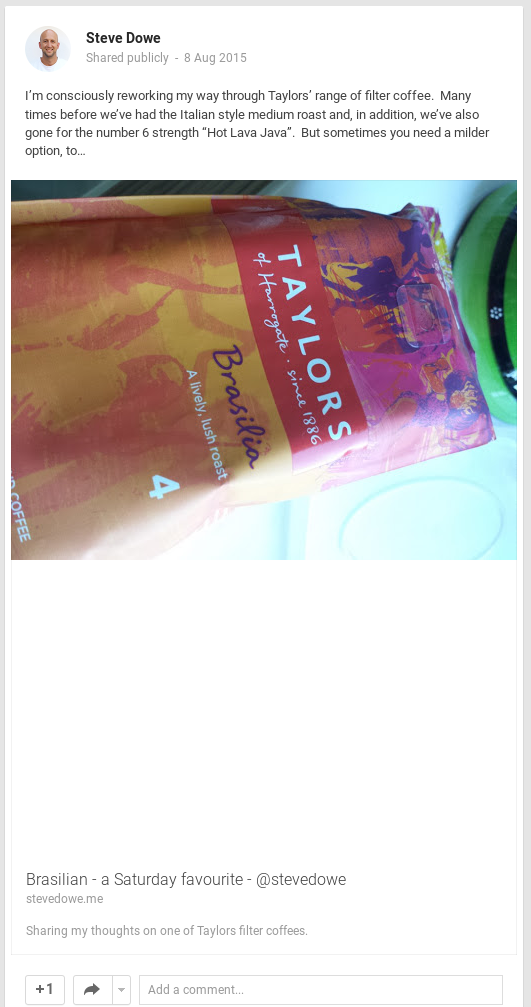
Links:
plus.google.com/+SteveDowe/posts/5eSkkPVLAfb
twitter.com/doweio/status/629950053499584512
Further Testing
Finding the most effective way to post requires more testing. My main aim was to find a way in which one post can look great on the three main social platforms (Google+, Twitter and Facebook – not that I care too much about the latter).
[ This is a legacy-published post, originally written but unpublished on 13 August 2015. Some details may not longer apply to recent software releases. ]
Being entrepreneurial means being more open
I am the first to admit that I am a product of the old guard. What do I mean by this? Well, when I started running a business in 2001, when the internet provided unbridled commercial opportunities and there was a scarcity of talent to develop for them, there was a certain modus operandi: keep your cards close to your chest. Shedding this behavioural axiom feels like the equivalent of standing up naked, in front of a live TV audience, promising them you really are still going to the gym and it’s all a work in progress. You can expect mixed reactions.
But in the last thirteen years, a lot has changed. We have seen the meteoric rise of internet-enabled devices and the framework, especially via social networking, for people to express themselves more freely. In fact, not just “more” freely, but FREELY, period. With this certain stream-of-consciousness we have also seen how businesses, once the “big blue”s of this world – hidden behind glass and steel, dictating the new world order – have become much more bottom-up, and even grassroots in appearance, if not in total nature.
I would argue that smaller teams in larger businesses will become more fashionable, because they tend to get things done more efficiently. The challenge has become less about the big wins, and more about how the small, inter-connected wins can be made to work well together. This, after all, was the original spirit of Web 2.0 (remember that?!). What Web 2.0 represented was the idea that instead of developing a monolithic web site or business platform which covered all functionality, you could actually interact with other sites and use them too. And they could use you and your services/data.
This is very much the case today. How many web sites do you visit where you can log in using credentials from another service/site? This flexibility and openness is not necessarily less secure, though some might argue against global logins – and there are good reasons to be cautious of this.
But, authentication is one of many possible services available on the web, and exploring this loosely-coupled architecture is becomming faster and easier than ever. Through a much greater spirit of discovery, we are bearing witness to an age of more open experimentation, more open discussion, and more open engagement amongst interested parties. Clients, friends, rivals, competitors. Finally, we can also celebrate the “failures” too. The increasingly scientific nature of modern thinking allows egos to be left at the door, and the excitement and joy of new adventures in technology to be more fully appreciated.
Many of us are into technology because of this excitement and enlightenment, myself included. It’s childlike and, IMHO, a desirable quality in a person. When you accept you are but one person, you accept a universal truth shared by everyone – and in so doing, acknowledge that while your time is precious, sharing whatever you can from it is a great investment.
On that basis, I am intending to up my blogging rate ten-fold, to try to document the events of my days and weeks and the challenges I face in them. My experiment will be to see if in doing this – i.e. openly blogging much more of what’s going on in my microbusiness, there is a positive effect on people around, the interest in my business services and, ultimately I suppose, a positive effect on me.
And I will be open about the result. Stay tuned!
The less said, the worse
If there is one thing I become acutely aware of, as time rolls by, it’s that the effort to write a page on my blog never diminishes. As the length of time since my last post increases, so does the psychological pressure to produce the next post. But one has to question, why is there this innate need to compose something, share it to the world and possibly see no return for the effort?
As strange as it sounds, I am intrugued by blogs that appear to have “stopped” at some point in time. When you come across a really useful post from a blog that was last updated three years ago, you can’t help feeling a bit sadenned by it. What happened to the poster? Did he/she get busy doing more even interesting stuff – so much more interesting and so much more busy, that they have neither the time nor the inclination to share?
This is a problem I have and I suspect I’m not alone. Sharing what goes on in my daily life is sometimes not possible. People count on me to provide web hosting support the moment they need it, not after I write a blog post. Working with a number of UK graphic design agencies, my days are kept busy and varied. Staying on top of the latest technical developments – often blogged by others in the industry, means I have little time to share this newly-acquired knowledge myself.
To address this issue, I am going to start worrying a little less about the content of my blog posts and more about their timeliness. Sound strange? Perhaps. Having read others’ blogs, though, it seems that social, political and technical comment is still a sought-after item of value in cyberspace. It all comes down to trust. Do you trust the opinion of the writer of this blog?
In our increasingly exposed digital world, establishing trust is something that comes from interactions and being able to judge a person’s character through what they share. As time rolls on, I will attempt to share more of my thoughts and observations through this blog and other social media sites, and worry a little less that I’m not providing a how-to on “everything you ever needed to know”.
If you have any comments, please feel free to add them below. Thanks.