If you have a curious bent – and you bought a Chromebook thinking it would be the answer to all problems, then chances are you probably gave up on that notion fairly quickly and installed a variant of GNU/Linux on it.
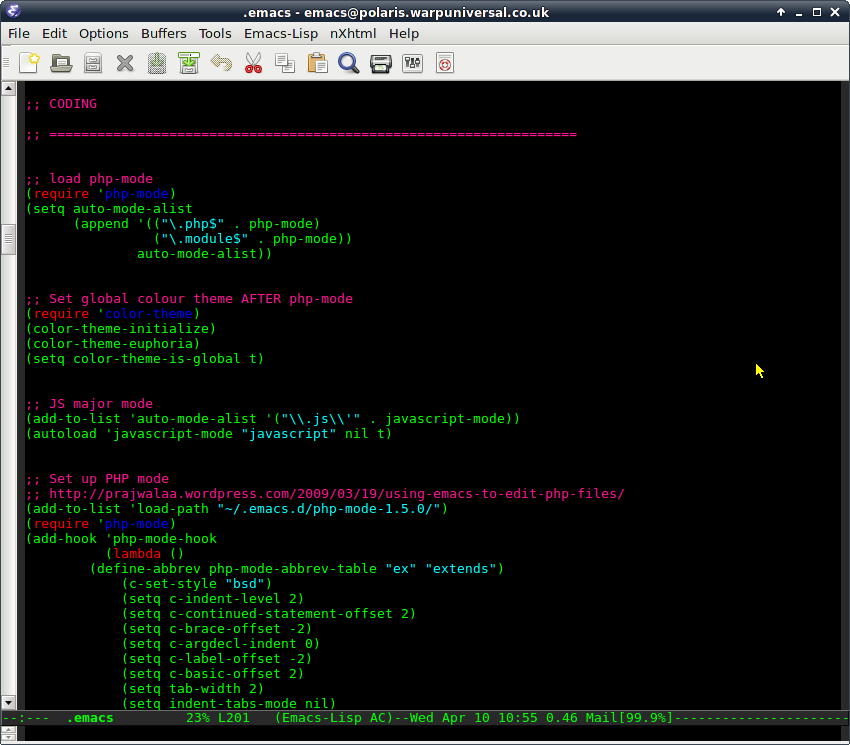
If so, well done. Thankfully, Daniel Berrange – a Red Hat fellow and Fedora users, posted some instructions on how to get Fedora 18 (Spherical Cow) installed on a Samsung series 3 (XE303C12) Chromebook. This is the route I decided to take, having been a Fedora user for many years. But I digress.
If you have GNU/Linux installed on a Series 3 Chromebook, you may want to remap those Google-inspired function keys that run across the top. You know, those keys with the arrows, reload, window-size/position, brightness and volume icons… Yeah. Actually, they’re function keys: F1 to F10.
A good read for how to identify what each key is can be found here, on this askubuntu post which details the xev command. xev displays the numeric keycode of the keyboard key (!) you just pressed.
Keys F1-F10 use the following keycodes:
Key     Keycode    Equivalent
Back        67          F1
Forward     68          F2
Reload      69          F3
Resize      70          F4
Stacking    71          F5
Bright down 72          F6
Bright up   73          F7
Mute        74          F8
Sound down  75          F9
Sound up    76          F10
To remap these keys, we now need to identify what extended functionality the XF86 multimedia keyset provides.
A reference table is available is available on linux questions.

